You stand on the precipice of a practice that promises to connect your mind, body, and spirit. You’re curious about yoga, but the idea of contorting yourself into pretzels might feel a bit daunting. Fear not. This guide is designed to introduce you to foundational postures, those building blocks that form the bedrock of a safe and rewarding yoga experience. You’ll discover how these simple movements can bring balance, strength, and tranquility to your everyday life. Think of this as your friendly invitation to explore your own physical and mental resilience.
Before you even consider a complex pose, you need to understand the fundamental principles of your yoga practice. This begins with creating a comfortable and supportive environment. Your mat is your personal space, and its importance cannot be overstated. It provides cushioning, reduces the risk of slipping, and offers a clear boundary for your practice.
Setting Up Your Sacred Space
You might wonder if you need a special room for yoga. The answer is simple: no. Your chosen spot, whether it’s a corner of your living room or a quiet nook in your bedroom, will do. The key is to make it a place where you feel at ease and can focus without too many distractions. You’ll want to ensure you have enough space to move freely without bumping into furniture.
Understanding Your Body’s Signals
As you begin, pay close attention to what your body tells you. Yoga is not about forcing yourself into positions that cause pain. Instead, it’s about listening to your body’s subtle cues and working within its current limitations. You will develop a deeper understanding of your body’s capabilities as you practice consistently.
The Importance of Breath (Pranayama)
Breath is often called the“life force” in yoga, and for good reason. Your breath is your anchor, connecting you to the present moment and calming your nervous system. You’ll learn simple breathing techniques that can be integrated into your practice and your daily life. You’ll find that a steady, conscious breath can transform your experience of each pose.
Foundational Poses for Grounding and Stability
You’ll start with postures that help you find your footing, both literally and figuratively. These poses cultivate a sense of grounding and stability, preparing you for more dynamic movements. Your body will begin to feel more connected and centered.
Mountain Pose (Tadasana): The Pinnacle of Simplicity
This seemingly simple standing pose is foundational for almost all other standing postures. You’ll learn how to stand tall with your feet grounded, your spine elongated, and your body in perfect alignment.
Finding Your Center in Mountain Pose
Stand with your feet hip-width apart, or with your big toes touching if that feels more comfortable. Distribute your weight evenly through your feet. Imagine a string pulling you up from the crown of your head, lengthening your spine. Your shoulders should feel relaxed, and your arms can hang by your sides with palms facing forward or toward your body. You’ll feel a sense of quiet strength and awareness in this position.
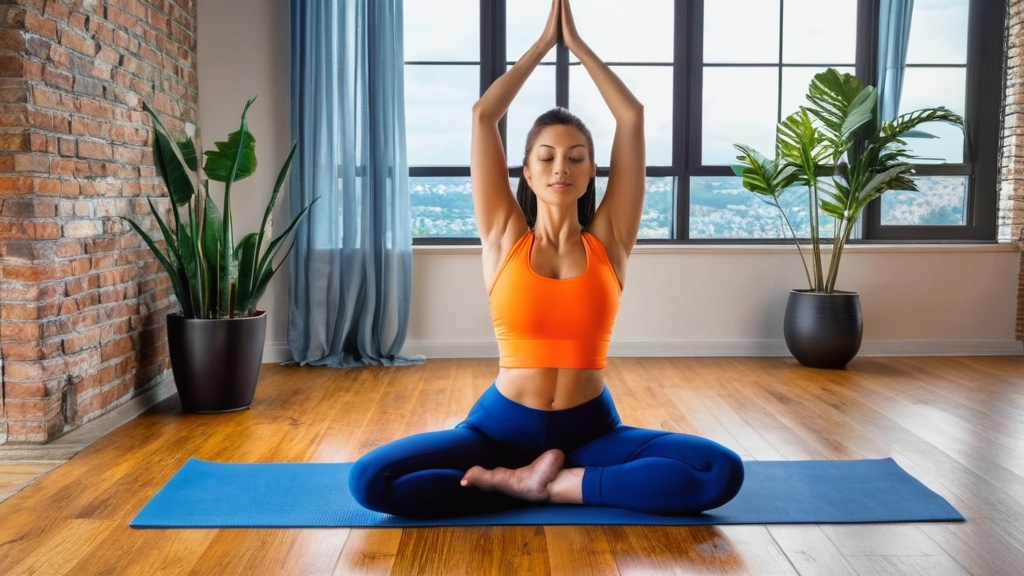
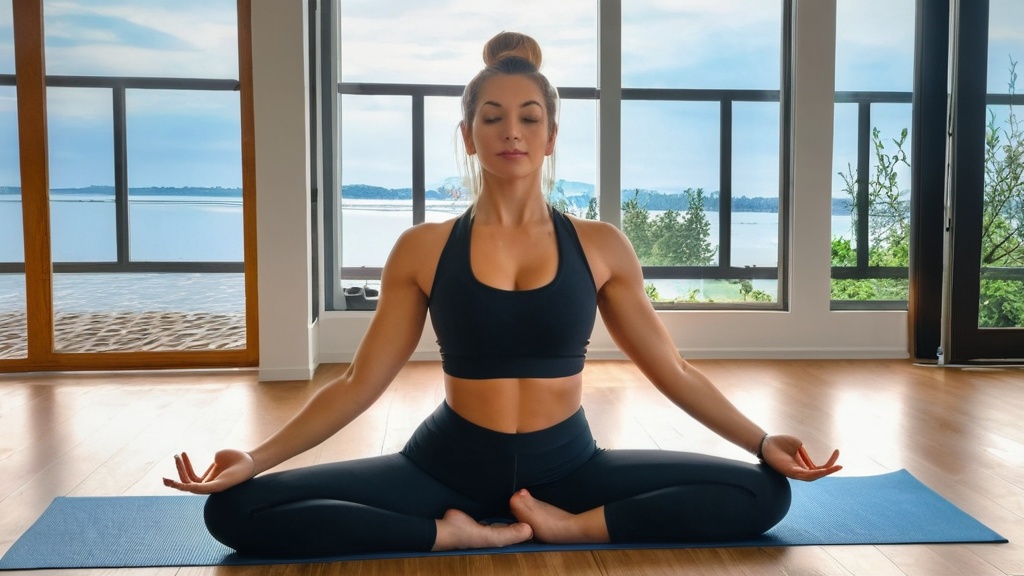
Easy Pose (Sukhasana): Cultivating Ease in Seated Balance
This is the classic cross-legged seated position, and it’s often the first pose you’ll encounter when you sit down for meditation or gentle movement. You’ll discover modifications to make it comfortable for your body.
Seating Yourself with Comfort
Sit on the floor with your legs extended. Bend one knee and bring the foot towards your opposite inner thigh. Then, bend the other knee and bring that foot towards the opposite inner thigh. Your shins can be crossed, or your feet can be tucked underneath your shins. If your hips feel tight, you’ll want to elevate your sitting bones by placing a folded blanket or cushion beneath your sit bones. This helps to tilt your pelvis forward, making it easier to keep your spine long. You’re aiming to find a comfortable height where you can maintain an upright posture without slouching.
Gentle Movement and Connection: Flowing Between Poses
You’ll explore poses that encourage fluid movement and create a sense of connection between different parts of your body. These sequences help to awaken your spine and build body awareness.
Cat-Cow Pose (Marjaryasana-Bitilasana): A Rhythmic Spinal Awakening
This dynamic duo of poses is a fantastic way to warm up your spine, increase its flexibility, and connect your breath with movement. You’ll move between a rounded back and an arched back, creating a gentle massage for your vertebral column.
The Dance of Inhale and Exhale
Begin on your hands and knees in a tabletop position. Your wrists should be directly under your shoulders, and your knees should be under your hips. As you inhale, drop your belly towards the mat, lift your chest, and gaze slightly upwards for Cow Pose. As you exhale, round your spine towards the ceiling, tuck your chin to your chest, and allow your head to hang for Cat Pose. You’ll repeat this movement, linking your breath to the motion, feeling the stretch and release in your back.
Cobra Pose (Bhujangasana): Lifting and Opening the Chest
This backbend is a gentle way to strengthen your back muscles and open your chest and shoulders. You’ll feel a sense of expansion as you lift your upper body.
Rising Gently
Lie on your stomach with your legs extended and the tops of your feet resting on the mat. Place your hands flat on the floor beneath your shoulders, with your elbows tucked in close to your body. As you inhale, press your pubic bone into the mat and lift your head and chest off the floor, using the strength of your back muscles. Keep your neck long, and avoid crunching your shoulders up towards your ears. Only lift as high as feels comfortable. You can keep your elbows slightly bent. Release back down to the mat as you exhale.
Opening Your Hips and Hamstrings: Releasing Tension
Many people hold tension in their hips and hamstrings. These poses are designed to help you release that tension, improving flexibility and bringing a sense of spaciousness. You’ll find that opening these areas can lead to a greater sense of ease in your entire body.
Forward Fold (Uttanasana): Reaching for the Ground
This posture offers a delicious stretch for the backs of your legs and your spine. You’ll learn how to modify it so your hamstrings don’t feel strained.
Bending with Awareness
From Mountain Pose, exhale and hinge at your hips, bending forward. You can keep your knees generously bent, especially at first. Allow your torso to rest on your thighs. Let your head and neck hang heavy. Your hands can rest on the floor, on blocks, or hold opposite elbows. The goal here is to feel a gentle release in your hamstrings and lower back, not to force your forehead to your shins. You’re allowing gravity to do the work.
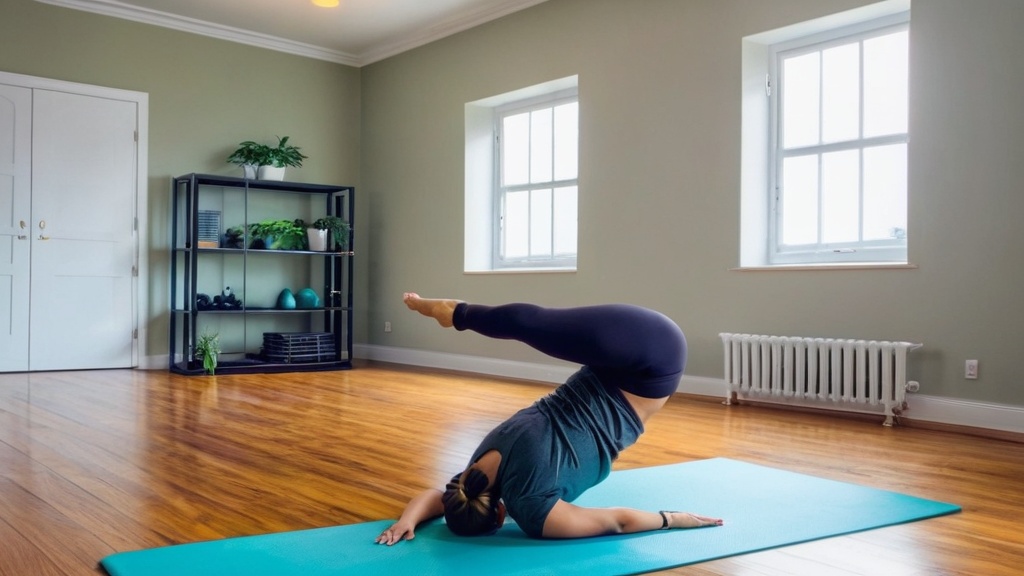
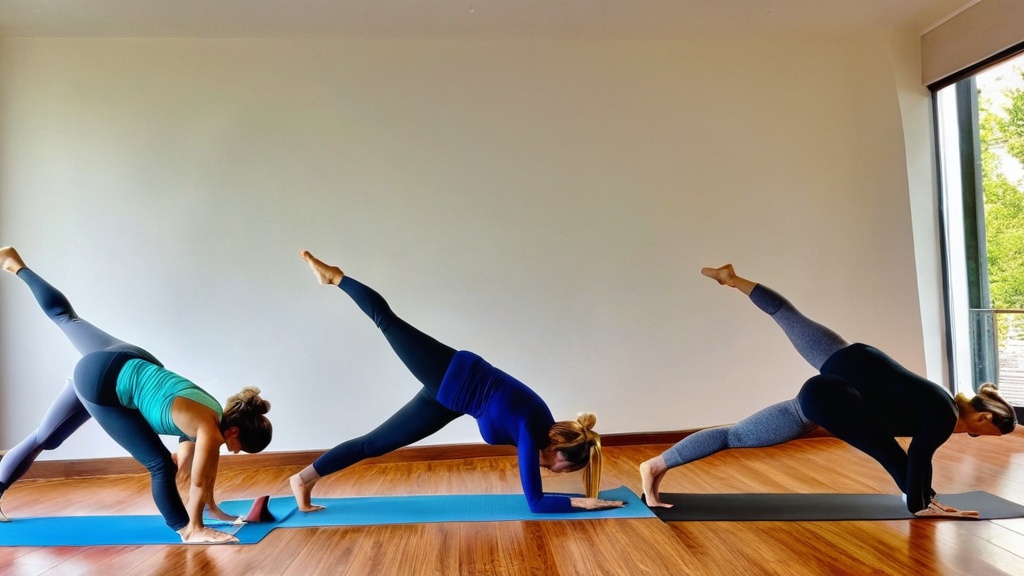
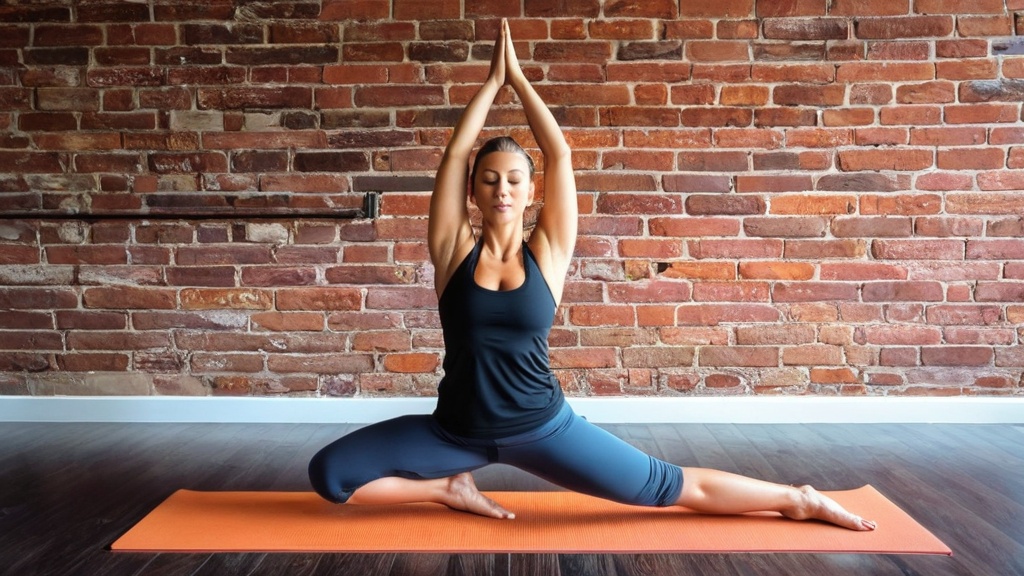
Low Lunge (Anjaneyasana): Stretching the Hip Flexors
This pose is excellent for opening the front of the hip on the back leg and stretching the quadriceps. You’ll find that it can also help improve balance.
Stepping into the Lunge
Start on your hands and knees. Step one foot forward between your hands, ensuring your front knee is stacked directly over your ankle. Keep your back knee on the mat. You can pad your back knee with a folded blanket if needed. Tuck the toes of your back foot under or keep them flat on the mat. You can keep your hands on the floor, on blocks, or bring them to your front thigh. You’ll feel a stretch in the front of the hip of your back leg. Your front thigh should remain parallel to the floor.
Building Strength and Balance: Finding Your Feet
| Yoga Pose | Description | Benefits |
|---|---|---|
| Mountain Pose (Tadasana) | Standing tall with feet together, arms at sides, and shoulders relaxed. | Improves posture, strengthens thighs and ankles, and increases awareness. |
| Downward-Facing Dog (Adho Mukha Svanasana) | Start on hands and knees, then lift hips up and back, forming an inverted V shape. | Stretches the whole body, strengthens arms and legs, and calms the mind. |
| Warrior I (Virabhadrasana I) | Step one foot forward, bend the front knee, and extend arms overhead. | Strengthens legs, opens hips, and builds focus and determination. |
| Child’s Pose (Balasana) | Sit back on heels, then fold forward, reaching arms out in front and resting forehead on the mat. | Relieves stress and fatigue, stretches the back, and promotes relaxation. |
As you gain confidence and stability, you’ll introduce poses that build strength and challenge your balance. These postures are not about perfection but about developing greater body awareness and confidence.
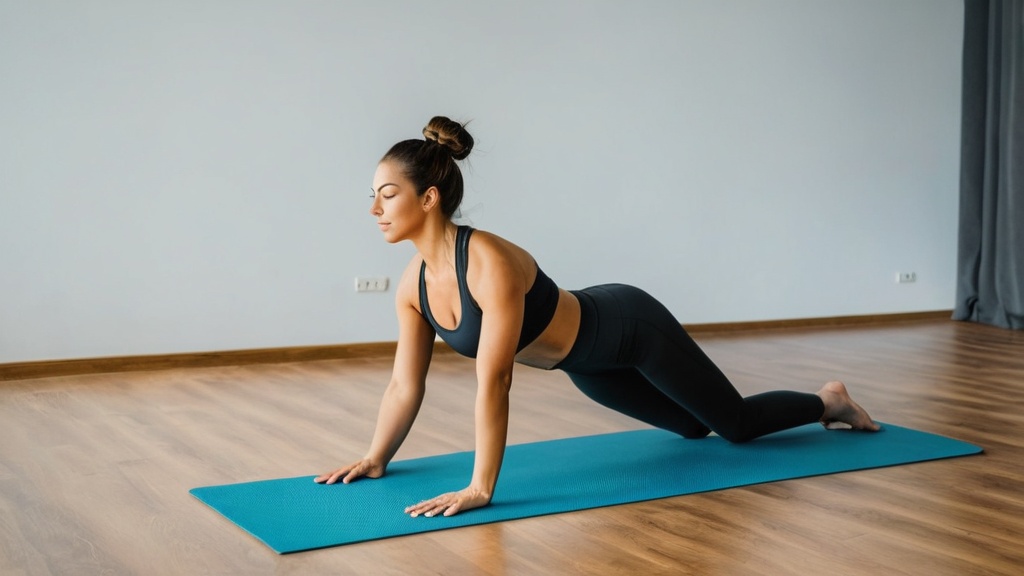
Downward-Facing Dog (Adho Mukha Svanasana): The All-Levels Pose
Often called the“king of yoga poses,” Downward-Facing Dog is accessible to most beginners and offers a multitude of benefits, from strengthening your arms and legs to stretching your hamstrings and calves. You’ll learn how to find the proper alignment.
Inverting with Intention
Begin on your hands and knees. Tuck your toes under and press your hips up and back, forming an inverted V-shape. Your hands should be shoulder-width apart, and your feet should be hip-width apart. You’ll want to press down through your palms and spread your fingers wide. Your knees can remain bent, and you can pedal your feet by bending one knee and straightening the other to deepen the hamstring stretch. Imagine drawing your tailbone up towards the ceiling. Your head should hang naturally between your upper arms. This pose builds strength in your shoulders and arms, and lengthens your spine.
Bridge Pose (Setu Bandhasana): Lifting and Supporting
This gentle backbend strengthens your legs, glutes, and back muscles while opening your chest. You’ll feel supported from beneath as you lift your torso.
Creating a Bridge of Strength
Lie on your back with your knees bent and your feet flat on the floor, hip-width apart. Your arms should rest by your sides, palms down. As you inhale, press into your feet and lift your hips off the floor. You can keep your hands flat on the mat, or interlace your fingers beneath your hips and gently roll your shoulders under to lift your chest further. Keep your neck long and avoid lifting your chin too high. You’re aiming to create a straight line from your knees to your chest.
The Sweet Release: Rest and Integration
After you’ve moved your body and explored different sensations, it’s important to allow your body and mind to integrate the practice. These poses are your reward, providing a space for deep relaxation.
Child’s Pose (Balasana): A Haven of Rest
This restorative pose is a beautiful way to rest and calm your nervous system. You’ll find it’s a perfect pause point in any yoga sequence.
Finding Your Inner Sanctuary
Kneel on the mat with your big toes touching and your knees hip-width apart. You can also bring your knees closer together if that feels more natural. Sit back on your heels and fold your torso forward, resting your forehead on the mat. Your arms can be extended forward, with palms facing down, or they can rest alongside your body, palms facing up. Allow your body to feel heavy and supported by the mat. Breathe deeply, allowing any tension to melt away.
Corpse Pose (Savasana): The Ultimate Relaxation
This pose is arguably the most important one in your practice. It’s where you allow yourself to fully absorb the benefits of your movements and simply be.
Letting Go Completely
Lie flat on your back with your legs extended and let your feet fall open naturally. Your arms should rest by your sides, a little away from your body, with your palms facing upwards. Close your eyes. consciously relax every part of your body, from your toes all the way up to the crown of your head. There is nothing you need to do here but rest. Allow your breath to return to its natural rhythm. Stay here for at least five to ten minutes, letting go of any thoughts or distractions. This is your time for complete surrender and rejuvenation.
You’ve now taken your first steps into the world of yoga, exploring poses that build a strong foundation for your practice. Remember, consistency is key. Even a short, regular practice will yield greater benefits than sporadic longer sessions. Listen to your body, be patient with yourself, and enjoy the unfolding journey of self-discovery on your mat. You’ll find that with each practice, you’ll feel more connected to yourself, more at ease in your body, and more grounded in your life.
FAQs
What are essential yoga poses for beginners?
Some essential yoga poses for beginners include Mountain Pose (Tadasana), Downward-Facing Dog (Adho Mukha Svanasana), Warrior I (Virabhadrasana I), Warrior II (Virabhadrasana II), and Child’s Pose (Balasana).
How can beginners benefit from practicing these yoga poses?
Practicing these essential yoga poses can help beginners improve flexibility, build strength, reduce stress, and increase mindfulness. These poses also help beginners develop a foundation for more advanced yoga practices.
Are there any safety tips for beginners practicing yoga poses?
Beginners should listen to their bodies, avoid pushing themselves too hard, and seek guidance from a qualified yoga instructor. It’s important to practice proper alignment and use props when necessary to prevent injury.
Can these yoga poses be modified for beginners with physical limitations?
Yes, these yoga poses can be modified for beginners with physical limitations. For example, using a chair or wall for support, using props such as blocks or straps, and making adjustments to accommodate individual needs.
How often should beginners practice these essential yoga poses?
Beginners can start by practicing these essential yoga poses 2-3 times per week and gradually increase the frequency as they become more comfortable and confident in their practice. Consistency is key for progress.